

Key Takeaways
- Checking six essential fluids - oil, coolant, brake, transmission, power steering, and washer - takes under 20 minutes.
- Most fluid checks should be done with the engine cold and the vehicle on level ground for accurate readings.
- Color and consistency reveal as much as level - dark, gritty, or milky fluid is often a warning sign.
- Low brake fluid warrants immediate professional inspection before driving further.
- Your owner's manual specifies the correct fluid types and check intervals for your specific vehicle.
What you will need
Why Fluid Checks Are a Core Ownership Skill
Fluids are your vehicle's circulatory system. Engine oil lubricates moving parts; coolant prevents overheating; brake fluid transmits pedal force to the calipers; transmission fluid keeps gear changes smooth. When any of these drops too low or degrades, the consequences range from accelerated wear to an outright mechanical failure - and most of it happens silently until it doesn't.
The good news is that checking these fluids requires no mechanical expertise and very few tools. Building the habit of a quick under-hood check every month or before long trips is one of the most cost-effective things a driver can do. If you want to go further and integrate this into a broader pre-trip habit, our pre-trip safety walkthrough is a good companion resource.
Before you begin, gather what you'll need:
What you will need
You'll also find these tools useful:
Owner's Manual
Identifies fluid reservoir locations, correct fluid specifications, and manufacturer-recommended check intervals for your specific vehicle.
Lint-Free Rags or Paper Towels
Used to wipe dipsticks clean before re-inserting for accurate readings, and to clean up any drips.
Flashlight
Improves visibility inside the engine bay, especially for locating reservoirs and reading fluid color on a dipstick.
Nitrile Gloves
Protects hands from contact with fluids that can irritate skin, such as brake fluid and coolant.
How to Check Each Essential Fluid
Work through each fluid in a consistent sequence. The steps below cover the six most important checks for the majority of passenger vehicles. Always cross-reference your owner's manual - reservoir locations and fluid specifications vary between makes and models.
Park on level ground and let the engine cool
Pull onto a flat, level surface - uneven ground skews dipstick readings. If you've been driving, allow the engine to sit for at least 5 minutes before checking oil or transmission fluid, and at least 30 minutes before touching anything coolant-related. Engage the parking brake and open the hood latch.
Check engine oil level and condition
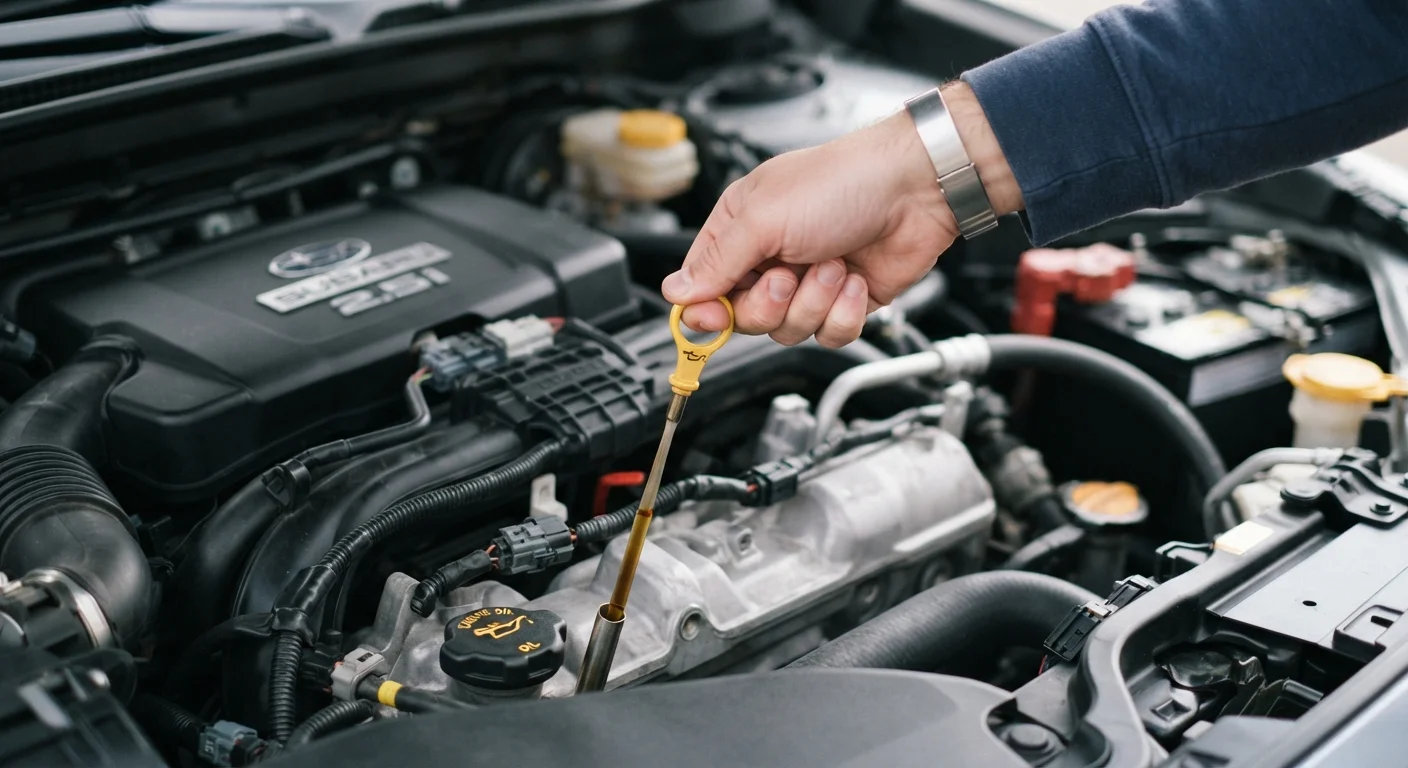
Locate the oil dipstick - usually a brightly colored loop or handle. Pull it out, wipe it clean with a rag, reinsert it fully, then pull it out again. The oil should sit between the MIN and MAX markers. Note the color: golden or amber is healthy; very dark brown or black may mean the oil is overdue for a change; a milky, foamy appearance can indicate coolant contamination and requires prompt professional attention. For more on oil types, see our guide to synthetic vs. conventional motor oil.
Inspect the coolant (antifreeze) level
Do not open the radiator cap. Instead, locate the translucent plastic coolant reservoir (usually labeled with a temperature warning icon). Check that the fluid level falls between the LOW and FULL markings on the outside of the reservoir. Coolant should appear bright green, orange, or pink depending on the type - never brown or rusty. If the reservoir is empty or the coolant looks corroded, consult a mechanic rather than simply topping it off.
Check brake fluid
The brake fluid reservoir is typically a small, semi-transparent plastic container near the back of the engine bay on the driver's side. Without opening it, check the fluid level against the MIN and MAX lines on the side. Brake fluid should be pale yellow to clear; dark brown fluid indicates it has absorbed moisture and degraded. Do not mix different brake fluid specifications - the cap or your owner's manual will specify the correct type (DOT 3, DOT 4, etc.).
Check transmission fluid (if applicable)
Many automatic transmissions have a dipstick similar to the oil dipstick - consult your owner's manual to confirm its location and whether your vehicle has one (some modern transmissions are sealed and require a shop inspection). With the engine warmed up and running (for most vehicles), pull the dipstick, wipe, reinsert, and read the level. Transmission fluid should be reddish and smell slightly sweet; a dark, burnt smell indicates the fluid may need changing. Manual transmissions generally require a shop check - they don't have a serviceable dipstick.
Check power steering fluid and washer fluid
Power steering fluid (on vehicles without electric power steering) is stored in a small reservoir, often with a steering wheel icon on the cap. Check the level against the markings and note the color - it should be clear to light pink, not dark or foamy. Windshield washer fluid is the one reservoir you can top up with confidence at any time - just use a premixed washer solution rated for your climate. Do not substitute plain water, which can freeze and grow bacteria in the system. For a broader look at overlooked maintenance items, see our article on overlooked maintenance tasks that affect performance.
Low Brake Fluid Requires Immediate Attention
If your brake fluid reservoir is at or below the minimum line, do not treat this as a routine top-up situation. Low brake fluid can indicate a leak in the braking system or severely worn brake pads - both are safety-critical issues. Have the vehicle inspected by a qualified mechanic before driving it further.
Keep a Simple Fluid Log
Record the date, mileage, and result each time you check a fluid. A pattern of rapid fluid loss - even when levels stay topped up - can signal a slow leak worth investigating early. A small notebook in the glove box or a note on your phone works perfectly.
If a dashboard warning light appears alongside an unexplained fluid drop, our explainer on what the check engine light really means can help you interpret the signal before heading to a shop. And if you've heard conflicting advice about how often to check or change fluids, our article on car maintenance myths separates fact from fiction.
Reading the Warning Signs: When to Stop and Seek Help
Not every fluid issue is a simple top-up. The following situations call for professional inspection rather than a DIY fix:
- Milky or foamy engine oil - possible coolant leak into the engine, which can cause serious internal damage.
- Rapid and repeated fluid loss - even if you keep topping up, a consistent drop points to a leak.
- Coolant that looks rusty or contains visible particles - indicates corrosion inside the cooling system.
- Brake fluid at or below minimum - safety-critical; do not drive until inspected.
- Burnt smell from transmission fluid - overheating or fluid breakdown requiring service.
Never Open a Hot Coolant Reservoir
Coolant systems operate under pressure. Opening the radiator cap or coolant reservoir on a hot engine can cause superheated steam and fluid to eject violently, causing serious burns. Always wait at least 30 minutes after driving before checking coolant.
Routine fluid awareness pairs well with other maintenance basics. Our guide to tire pressure, tread, and rotation covers another set of checks that take just minutes and have a direct impact on safety and efficiency. For seasonal considerations - especially heading into winter when coolant and washer fluid ratings matter more - see our seasonal car care guide.
This article provides general educational information about vehicle maintenance. It is not a substitute for advice from a qualified mechanic. Always consult your owner's manual and a licensed automotive professional for guidance specific to your vehicle.